
9 Easy Home Remedies to Tame Keloids
Keloids can be a real pain, both physically and emotionally. These raised scars can form after an injury, and they don’t always fade away like we hope they would. If you’re tired of dealing with keloids and want to try some simple home remedies, you’re in the right place. We’ve gathered 9 easy home remedies for keloids that might help you manage those stubborn scars. Let’s dive into what you can do at home to tackle this issue!
Key Takeaways
- Keloids are raised scars that can be bothersome and may need treatment.
- Home remedies can provide relief and help reduce the appearance of keloids.
- Natural ingredients like aloe vera and honey can be beneficial for skin healing.
- Consistency is key when using home remedies; results may take time.
- Always consult with a dermatologist for persistent or painful keloids.
Understanding Keloids: What Are They?
Okay, so you’ve got this weird bump on your skin, and you’re wondering, “What in the world is that thing?” Well, buckle up, because we’re about to explore keloids. Think of them as scars that went to college, got a degree in ‘Overachieving,’ and then decided to throw a never-ending party on your skin.
Basically, keloids are just scar tissue that’s gone a little bonkers. When your skin gets hurt – maybe from a cut, a piercing, or even acne – your body rushes in to fix things. But sometimes, it gets a little too enthusiastic and produces way too much collagen. The result? A raised, often shiny, and sometimes itchy or painful scar that’s bigger than the original wound. It’s like your body’s saying, “I’m so good at healing, I’m going to heal this wound… and the surrounding area… and maybe even the next town over!”
Keloids are more common in some people than others. If your family has a history of keloids, or if you have darker skin, you might be more prone to developing them. Also, they tend to show up more often on certain parts of the body, like the chest, shoulders, and earlobes. So, if you’re thinking about getting your ears pierced, maybe do a little keloid research first!
Here’s a quick rundown:
- Keloids are raised scars that grow beyond the original wound.
- They’re caused by an overproduction of collagen during healing.
- They can be itchy, painful, or just plain annoying.
Common Causes of Keloids
So, you’re wondering why these funky raised scars decided to crash the party on your skin? Well, let’s get into the nitty-gritty of what causes keloids. It’s not always a straightforward answer, but here’s the lowdown.
First off, let’s be clear: keloids are basically your body’s overzealous attempt at healing. Think of it like your skin’s version of a toddler throwing a tantrum – excessive and a bit dramatic. When your skin gets injured, your body sends in the collagen troops to patch things up. But sometimes, these troops get a little too enthusiastic and keep building even after the wound is closed. The result? A keloid. Now, let’s look at some of the common culprits:
- Skin trauma: This is the big one. Anything from cuts, burns, piercings, tattoos, surgical incisions, or even acne can trigger keloid formation. Basically, if your skin gets hurt, it’s at risk.
- Genetics: Thanks, Mom and Dad! If your parents have keloids, you’re more likely to develop them too. It’s like winning the genetic lottery, but instead of cash, you get excessive scar tissue. Yay?
- Skin tone: People with darker skin tones are more prone to keloids. It’s just a cruel twist of fate. Melanin, the pigment that gives skin its color, seems to play a role in keloid formation. So, if you’ve got more melanin, you’ve got a higher risk.
It’s important to remember that not everyone who gets a skin injury will develop a keloid. Some people are just more susceptible than others. Factors like age, location of the injury, and even hormonal changes can play a role. So, if you’re prone to keloids, it’s extra important to take good care of your skin and try to prevent injuries in the first place.
- Age: Keloids are most common in people between the ages of 10 and 30. So, if you’re past your prime keloid-forming years, consider yourself lucky. Or, you know, just wait for the next weird skin thing that comes with aging.
- Location, location, location: Keloids love to set up shop in certain areas of the body. The chest, shoulders, upper back, and earlobes are prime real estate for these unwanted guests. Basically, anywhere there’s a lot of skin tension or movement is a keloid’s dream vacation spot.
So, what can you do about it? Well, knowledge is power. Knowing your risk factors can help you take steps to prevent keloids from forming in the first place. And if you do develop one, don’t despair! There are plenty of home remedies and medical treatments that can help tame these scar tissue overgrowths.
Why Choose Home Remedies?
Okay, so you’ve got a keloid. Bummer, right? Before you start picturing yourself signing up for expensive treatments that sound like they belong in a sci-fi movie, let’s talk about why you might want to give home remedies a shot first. Think of it as the chill, low-key approach to scar management. Plus, who doesn’t love a good DIY project, especially when it involves potentially saving some serious cash?
- They’re Budget-Friendly: Let’s be real, medical bills can be scary. Home remedies often use ingredients you already have in your kitchen or can grab for cheap at the store. Your wallet will thank you.
- They’re Convenient: No need to book appointments or travel anywhere. You can tackle that keloid while binge-watching your favorite show. Talk about multitasking!
- They’re (Potentially) Less Invasive: Some medical procedures can be a bit intense. Home remedies are generally gentler, which can be a big plus if you’re not a fan of needles or lasers.
Look, I’m not saying home remedies are a magical cure-all. But they can be a great starting point, especially for smaller keloids. Plus, even if they don’t completely get rid of the scar, they might help reduce inflammation and itching. And honestly, anything that makes your skin feel a little better is a win in my book. Just remember to consult with a healthcare professional for personalized treatment options if things get worse.
Let’s get to the good stuff. These remedies are tried-and-true, but consistency is key. Older keloids might take months to fade, so stick with it!
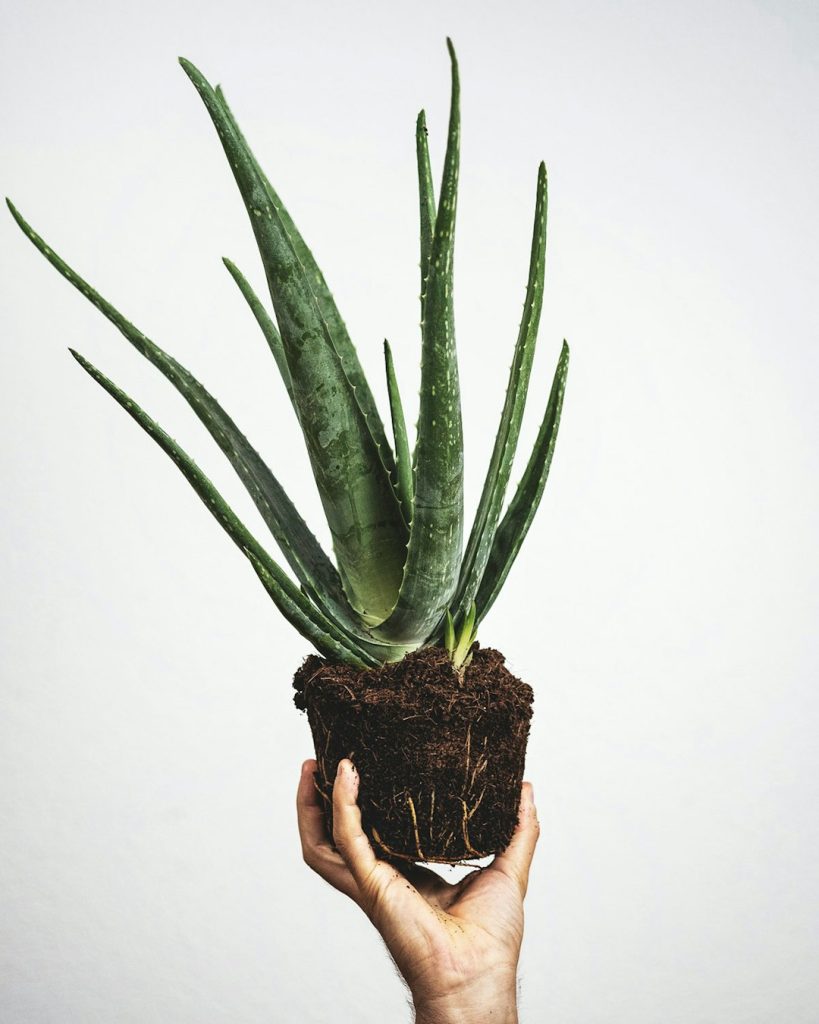
1. Aloe Vera: Nature’s Healing Gel
So, you’ve got a keloid, huh? Don’t worry, we’ve all been there (or at least, I’ve read about it happening to people… a lot). Before you start panicking and Googling “how to become invisible,” let’s talk about aloe vera. Yes, that spiky green plant your aunt swears cures everything from sunburn to existential dread. Turns out, she might be onto something, especially when it comes to those pesky keloids.
Aloe vera isn’t just for soothing sunburns after you’ve spent way too long trying to get a tan that one time. It’s actually got some serious healing properties. We’re talking about reducing inflammation and promoting wound healing. It’s like a tiny, green, spiky superhero for your skin.
Here’s the deal:
- Get yourself some pure aloe vera gel. None of that neon green, artificially flavored stuff. We’re going for the real deal here.
- Apply it to your keloid 2-3 times a day. Think of it as giving your keloid a little spa treatment. It deserves it, after all, for being so… noticeable.
- Let it dry. Then, go about your day, feeling slightly smug knowing you’re battling that keloid with the power of nature.
Aloe vera contains compounds that may reduce inflammation and promote wound healing. It’s been used for centuries to treat skin conditions, and while it might not make your keloid vanish overnight, it can definitely help to soothe and improve its appearance over time. Plus, it’s way cheaper than most fancy creams, so your wallet will thank you.
Now, I’m not saying aloe vera is a miracle cure. If your keloid is particularly stubborn, you might need to bring in the big guns (like a dermatologist). But for mild cases, or as a supplementary treatment, aloe vera is definitely worth a shot. Just don’t expect it to turn you into Wolverine. That’s a whole different plant.
2. Apple Cider Vinegar: A Natural Astringent
Alright, let’s talk about apple cider vinegar, or as I like to call it, ACV – the sour superhero of home remedies. You know, the stuff that smells like feet but supposedly does wonders? Well, when it comes to keloids, ACV is touted as a natural astringent. Basically, it’s supposed to help reduce the size and redness of those pesky scars. But does it actually work, or are we just splashing salad dressing on our skin for fun?
Here’s the deal: ACV contains acetic acid, which is believed to help exfoliate the skin and reduce inflammation. Some people swear by it, claiming it lightens their keloids over time. Others? Not so much. It’s kind of like that one friend who insists pineapple belongs on pizza – divisive, to say the least.
Now, before you go dousing yourself in ACV, a word of caution. This stuff is potent. Like, really potent. You absolutely MUST dilute it with water before applying it to your skin. Otherwise, you might end up with a chemical burn, and trust me, that’s way worse than a keloid. We’re trying to fix a scar, not create a new one!
So, how do you use it? Here’s the lowdown:
- Dilute, dilute, dilute! Mix one part ACV with three parts water. Seriously, don’t skip this step.
- Apply the diluted solution to your keloid using a cotton ball.
- Let it sit for about 10-15 minutes. If your skin starts to feel like it’s on fire, wash it off immediately.
- Rinse with water and moisturize. Because nobody wants dry, vinegar-smelling skin.
- Repeat this process once or twice a day. Consistency is key, but don’t overdo it. Your skin will thank you.
And remember, what works for one person might not work for you. Keloids are stubborn little buggers, and sometimes, they just don’t want to cooperate. But hey, it’s worth a shot, right? Just don’t blame me if you end up smelling like a pickle jar.
3. Honey: The Antibacterial Powerhouse

Okay, so you’re thinking about slathering honey on your keloid? I get it. It’s sticky, it’s sweet, and your grandma probably swore by it for everything from a sore throat to a scraped knee. But can it really help with those pesky keloids? Let’s find out, shall we?
Honey isn’t just for tea and toast, you know. It’s got some serious superpowers, mainly its antibacterial properties. Think of it as nature’s little germ-fighting superhero. But before you grab that bear-shaped bottle from the pantry, let’s get a few things straight.
Using honey on your keloid isn’t going to magically erase it overnight. It’s more like a slow and steady wins the race kind of deal. Consistency is key, my friend. And maybe a good sense of humor, because let’s face it, you’re going to be a bit sticky.
First off, not all honey is created equal. We’re talking about the good stuff here – medical-grade honey or Manuka honey. That stuff is like the Navy SEALs of the honey world. Regular honey from the grocery store? More like the mall security guard. It might help a little, but it’s not going to pack the same punch.
Here’s the lowdown on why honey might just be your keloid’s new worst nightmare:
- Antibacterial Action: Honey can help keep the area clean, which is always a good thing when you’re trying to heal. Less bacteria, less chance of infection, less chance of making that keloid even angrier.
- Moisturizing Magic : Keloids love to be dry and itchy, right? Honey is a natural humectant, which means it helps keep the skin moisturized. Happy skin is less likely to freak out and form more scar tissue.
- Wound Healing: Some studies suggest that honey can actually speed up wound healing. And while a keloid isn’t exactly a fresh wound, anything that promotes healing is a plus in my book.
So, how do you use this liquid gold? Apply a thin layer to the keloid, cover it with a bandage, and let it do its thing. Do this daily, and with a bit of luck, you might just see some improvement. And if not, hey, at least you’ll smell delicious. Just kidding… mostly.
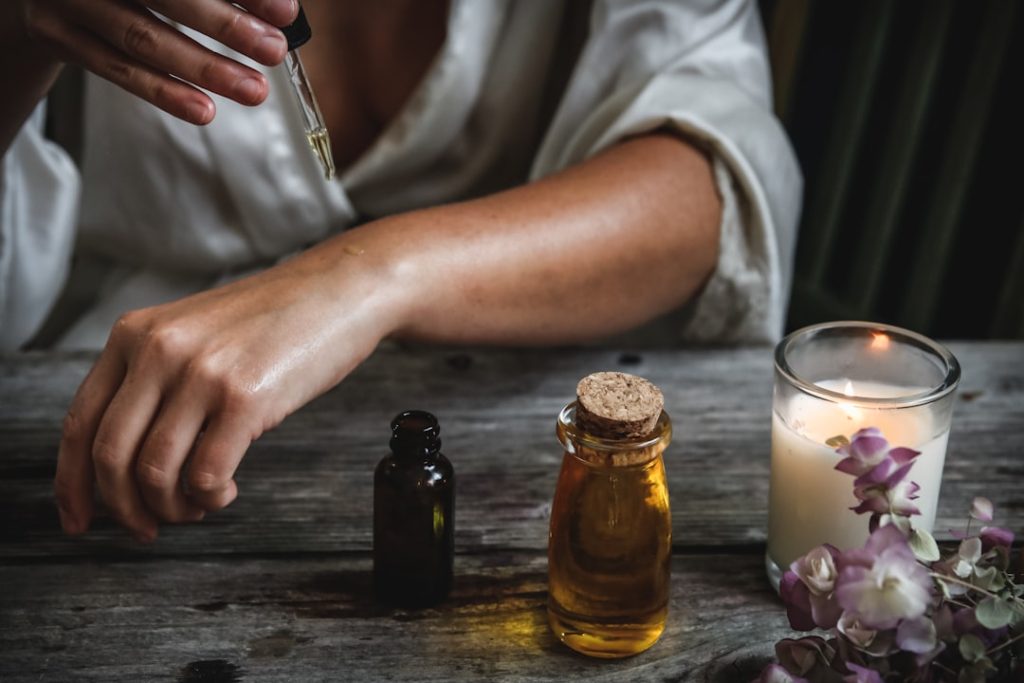
4. Tea Tree Oil: A Potent Essential Oil
Alright, buckle up, buttercup, because we’re diving into the world of tea tree oil. This stuff isn’t just for aromatherapy; it’s like the Swiss Army knife of natural remedies, especially when it comes to keloids. Just don’t go chugging it – topical use only, folks!
Tea tree oil is extracted from the leaves of the Melaleuca alternifolia tree, native to Australia. It’s been used for centuries by Aboriginal Australians as a traditional medicine. Now, the rest of the world is catching on, and for good reason. It’s got some serious mojo when it comes to fighting off infections and reducing inflammation. Think of it as your keloid’s worst nightmare, but in a tiny, adorable bottle.
Tea tree oil is known for its antiseptic, anti-inflammatory, and antifungal properties. It can help reduce the size and appearance of keloids by promoting healing and preventing infection. However, it’s potent, so dilution is key to avoid irritation.
Here’s a simple way to use it:
- Dilute, dilute, dilute! Mix a few drops of tea tree oil with a carrier oil like coconut or almond oil. Seriously, don’t skip this step unless you want to look like you’ve been sunbathing on Mars.
- Apply the diluted oil directly to your keloid using a cotton swab. Gently massage it in. You’re not trying to scrub the keloid into oblivion, just a light touch will do.
- Repeat this process once or twice a day. Consistency is key, my friend. Think of it as a daily spa treatment for your keloid, but way cheaper.
Tea tree oil is also beneficial for treating piercing bumps due to its antimicrobial and anti-inflammatory properties. Remember, a little goes a long way, and always do a patch test before slathering it all over your keloid. You don’t want to trade one problem for another, trust me.
5. Lemon Juice: The Natural Exfoliant
Okay, so you’re thinking about using lemon juice on your keloids? Buckle up, buttercup, because this could either be a skincare miracle or a citrus-fueled disaster. Lemon juice is basically the DIY queen of exfoliation, thanks to its citric acid content. It’s like giving your keloid a tiny, acidic spa day. But, like, a really intense one.
Here’s the deal:
- Lemon juice can lighten the skin. The theory is that it helps fade discoloration. Think of it as a natural, albeit slightly aggressive, bleaching agent.
- It might help exfoliate dead skin cells. This could, in turn, make the keloid appear smoother. Maybe. Possibly. Don’t get your hopes too high.
- It’s cheap and readily available. I mean, who doesn’t have a lemon rolling around in their fridge?
But before you go squeezing lemons all over your scars, let’s get real. Lemon juice is acidic. Like, seriously acidic. Using it undiluted can lead to irritation, inflammation, and potentially make your keloid even angrier than it already is. Proceed with caution, my friend.
So, how do you use this stuff without turning into a citrus-flavored lobster? Dilute, dilute, dilute! And for heaven’s sake, do a patch test first. Apply a tiny amount to an inconspicuous area and wait 24 hours to see if your skin throws a tantrum. If it does, abort mission! If not, proceed with caution. Remember, DIY scar treatments can be risky.
Here’s a super-basic, proceed-at-your-own-risk recipe:
- Squeeze fresh lemon juice into a bowl.
- Dilute it with an equal amount of water (or even more, if you’re feeling cautious).
- Apply to the keloid with a cotton ball.
- Leave it on for, like, 10 minutes max.
- Rinse thoroughly with cool water.
- Follow up with a good moisturizer. Your skin will thank you.
And for the love of all that is holy, don’t go out in the sun after applying lemon juice. Photosensitivity is a real thing, and you don’t want to end up with a sunburned keloid. Trust me on this one.
6. Silicone Gel Sheets: A Proven Method
Alright, let’s talk about something that actually sounds like it came from the future: silicone gel sheets. If you’re tired of concoctions that smell like your grandma’s spice rack, this might be your jam. These aren’t your average bandages; they’re like tiny, reusable shields against keloids. Think of them as the superhero capes for your scars.
Silicone gel sheets are a pretty popular choice, and for good reason. They’re not messy, they’re easy to use, and a lot of people swear by them. Plus, you can wear them under your clothes without anyone knowing your little secret. It’s like having a personal bodyguard for your skin, minus the awkward small talk.
How do they work? Well, the idea is that the silicone helps to hydrate the skin and regulate collagen production. Basically, it creates a little microclimate that encourages the scar to chill out and flatten itself. It’s like telling your keloid, “Hey, settle down, you’re not the star of the show here.”
Consistency is key with these things. You can’t just slap one on for a day and expect miracles. You’ve got to commit, like you’re training for a marathon, but instead of running, you’re just sticking a gel sheet on your skin. Exciting, right?
Silicone gel sheets are generally considered safe, but it’s always a good idea to chat with your doctor before starting any new treatment, especially if you have sensitive skin or any underlying health conditions. Better safe than sorry, right?
Here’s a quick rundown:
- Wash and dry the area.
- Cut the sheet to fit the keloid (because one size definitely does not fit all).
- Apply the sheet, sticky side down.
- Wear it for the recommended time (usually several hours a day).
- Clean the sheet according to the instructions (because hygiene matters, even for scar treatments).
And remember, patience is a virtue. You might not see results overnight, but with consistent use, you might just start to notice a difference. Plus, you’ll feel like a futuristic skincare guru, and who doesn’t want that?
Consider non-surgical scar strips for an easy and effective solution.
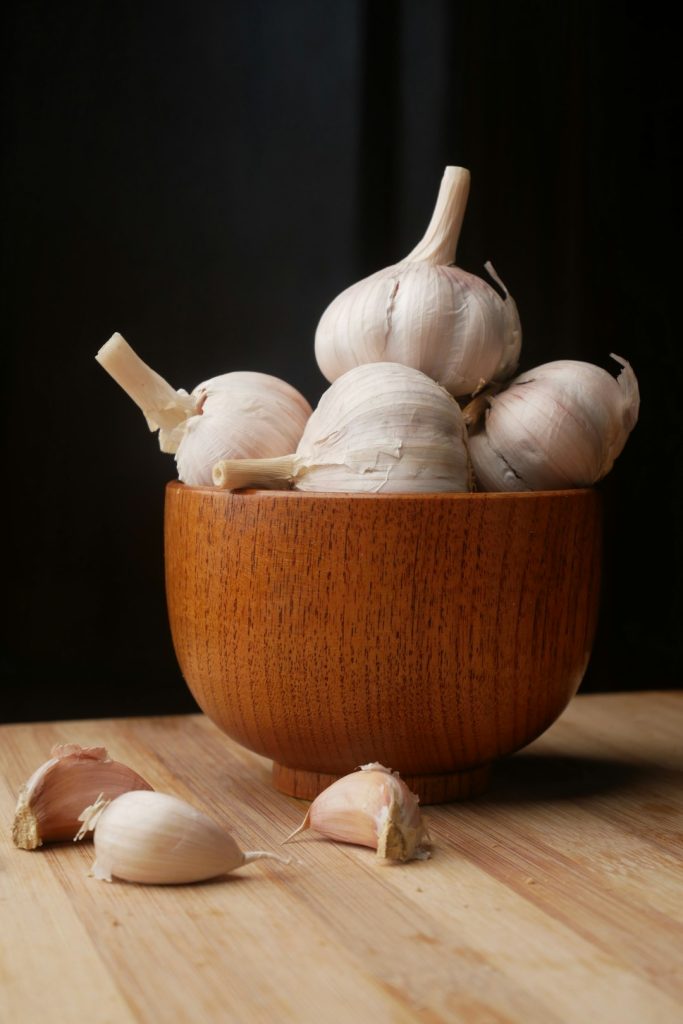
7. Garlic: The Natural Anti-inflammatory
Okay, so maybe you won’t be winning any popularity contests after this, but garlic is a surprisingly effective home remedy for keloids. I mean, who knew that something that wards off vampires could also help with pesky scars?
Garlic contains compounds that have anti-inflammatory properties. It’s like a tiny, stinky superhero fighting the good fight against inflammation. It’s not going to smell great, but it might just work!
Here’s the deal: garlic may help reduce the size and pigmentation of keloid scars when included in the diet or applied topically as an extract.
Just remember, a little goes a long way. You don’t want to smell like an Italian restaurant exploded in your bedroom. And definitely don’t go slathering raw garlic all over your face without testing a small area first. We’re aiming for healing, not a garlic-induced skin disaster.
Here’s how you can try it:
- Garlic Oil: You can find garlic oil at many health food stores. Apply it to the keloid a couple of times a day.
- Garlic Extract: Some people make a paste from crushed garlic, but be super careful! It can be irritating. Dilute it with water or a carrier oil (like coconut oil) before applying.
- Eat More Garlic: Okay, this one is less direct, but incorporating more garlic into your diet can’t hurt. Plus, it’s delicious in pasta.
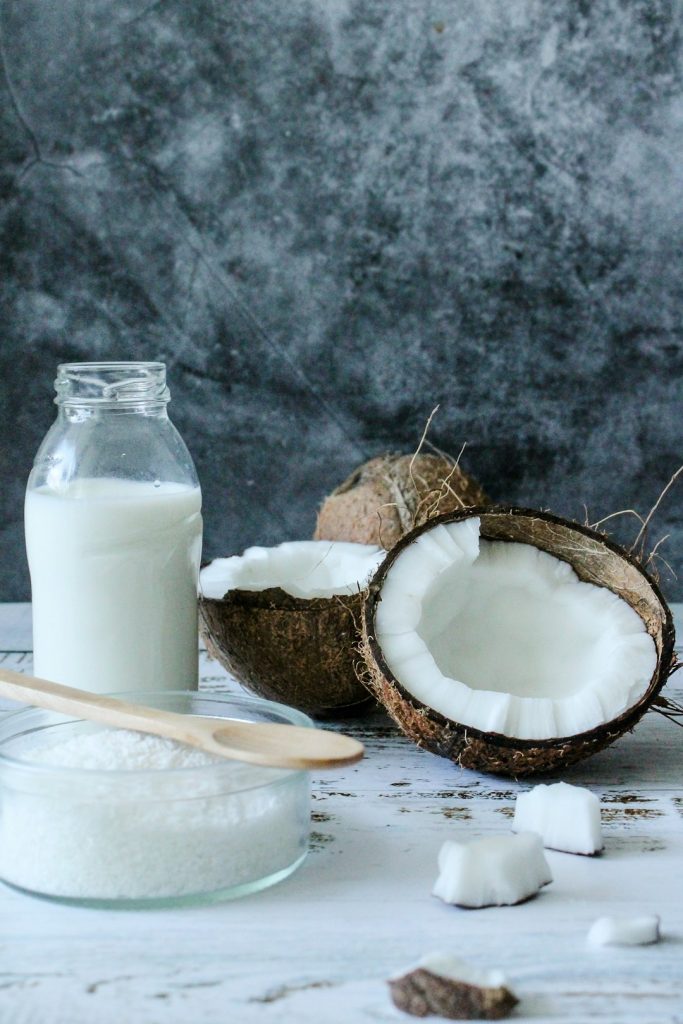
8. Coconut Oil: Moisturizing and Healing
Okay, so coconut oil. We’ve all heard about it, right? It’s like the Swiss Army knife of the natural remedy world. People use it for everything from cooking to, well, apparently keloids. Let’s see if this hype is real, or just another internet fad.
Coconut oil is packed with fatty acids that are supposed to be super moisturizing. The idea is that by keeping the keloid hydrated, you might be able to soften it and reduce its appearance over time. Plus, it smells like a tropical vacation, which is a definite bonus, even if it doesn’t shrink your scar.
I remember when I first tried coconut oil for a minor burn. I was skeptical, but honestly, it felt pretty soothing. Whether it actually sped up the healing or not, I can’t say for sure, but my skin definitely felt less angry.
Here’s how you can give it a shot:
- Warm a small amount of coconut oil in your hands.
- Gently massage it onto the keloid in a circular motion for about 5-10 minutes. Think of it as giving your scar a tiny spa treatment.
- Repeat this a couple of times a day. Consistency is key, or so they say. If you want to try another natural remedy, consider gotu kola.
Now, let’s be real. Coconut oil isn’t going to magically erase your keloid overnight. But, if you’re looking for a natural, moisturizing option that might offer some relief, it’s worth a try. Just don’t expect miracles, okay? And maybe avoid wearing your best clothes right after applying – unless you’re going for that ‘just wrestled a coconut’ look.
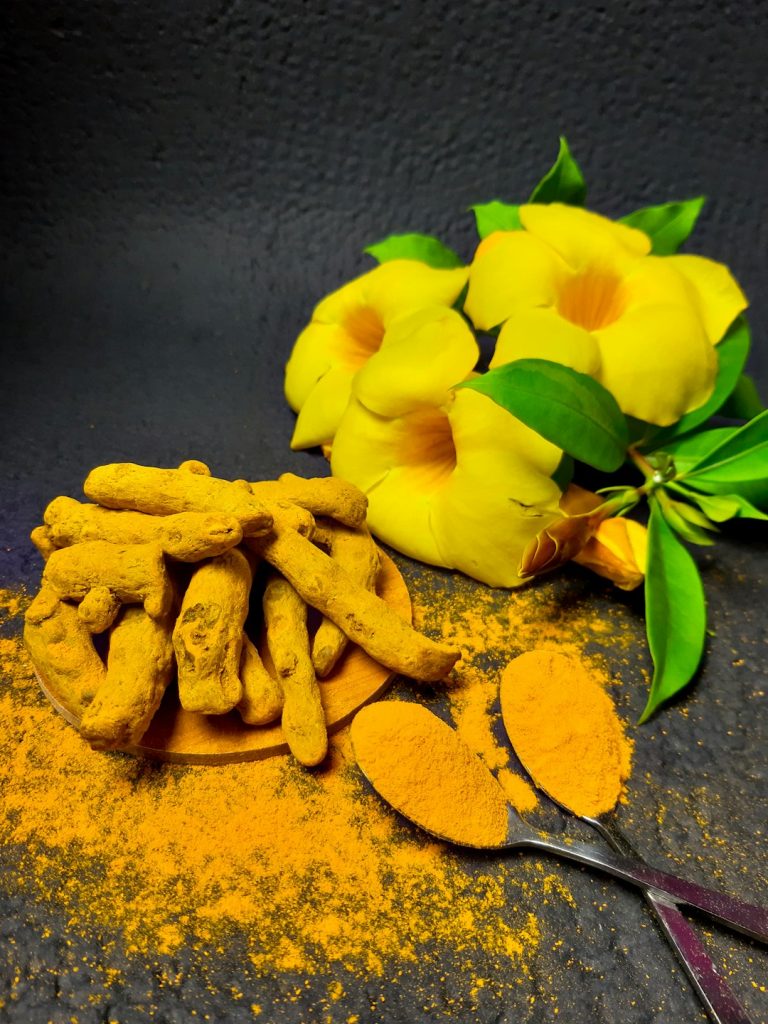
9. Turmeric: The Anti-inflammatory Spice
Alright, let’s talk about turmeric. You know, that yellow spice that makes your curry look so vibrant? Turns out, it might just be your keloid’s worst nightmare. Turmeric is packed with curcumin, a compound known for its amazing anti-inflammatory and antioxidant properties. It’s like sending a tiny army of healers to wage war on that pesky scar.
Think of it this way:
- Turmeric can help reduce inflammation, which is a major factor in keloid formation.
- It promotes healthier skin, aiding in the healing process.
- You can mix it with water or honey to create a paste for topical application. (Just be careful, it stains!)
Now, I’m not saying turmeric is a magic bullet. But incorporating it into your keloid-fighting routine could give you an extra edge. Plus, you get to enjoy some delicious curry along the way. It’s a win-win, really. Just remember to consult with a dermatologist before starting any new treatment, especially if you have sensitive skin. And maybe wear gloves when you’re mixing that paste – unless you’re going for the “Simpson” look.
So, how do you use this golden wonder? Mix turmeric powder with a little water or honey to form a paste. Apply it to your keloid, let it sit for about 30 minutes, and then rinse it off. Repeat this daily, and with a bit of luck, you might start seeing some improvement. And hey, even if it doesn’t completely banish your keloid, at least your skin will have a healthy glow. You can also try a scar cream to help with the appearance of scars.
Wrapping It Up: Keloids, Be Gone!
So there you have it, folks! Nine easy-peasy home remedies to tackle those pesky keloids. Who knew that aloe vera and honey could be your skin’s best friends? It’s like a spa day for your scars! Just remember, while these remedies might help, they’re not magic. If your keloids are throwing a party and won’t leave, it might be time to call in the pros. But hey, at least you can say you tried the DIY route first! Now go forth and show those keloids who’s boss—your skin will thank you!
Frequently Asked Questions
What exactly are keloids?
Keloids are thick, raised scars that can form after a skin injury. They grow larger than the original wound and can be itchy or uncomfortable.
What causes keloids to form?
Keloids can happen due to various reasons, like injuries, surgeries, or even acne. They occur when the body makes too much collagen while healing.
Why should I consider home remedies for keloids?
Home remedies can be a gentle way to help reduce keloids without the need for medical procedures. They can also support skin healing.
How long does it take to see results from home treatments?
Results can vary, but many people may start to see improvements after a few weeks of consistent treatment.
Are home remedies safe for everyone?
Most home remedies are safe, but it’s a good idea to check with a doctor, especially if you have sensitive skin or allergies.
When should I see a doctor about my keloids?
If your keloids are growing quickly, causing pain, or not improving with home care, you should consult a dermatologist for advice.
You may also like
Calendar
| M | T | W | T | F | S | S |
|---|---|---|---|---|---|---|
| 1 | 2 | |||||
| 3 | 4 | 5 | 6 | 7 | 8 | 9 |
| 10 | 11 | 12 | 13 | 14 | 15 | 16 |
| 17 | 18 | 19 | 20 | 21 | 22 | 23 |
| 24 | 25 | 26 | 27 | 28 | 29 | 30 |



Leave a Reply